Printing large documents comes with a number of challenges. You need to make sure that the image that you are printing is large enough and has high enough resolution to be printed at the size that you want it to be. Another consideration is the material that you are printing on, is it strong enough for the purpose that you need it for, and will it adhere to the surface that you need it to?
Even if you are able to meet all of the requirements to print the image or document large enough that it will look good at the size that you desire and function well, have you thought about how to transport and store it when not in use? The good news is that there are solutions for all of the potential pitfalls that you may encounter when printing large documents or images. The most important thing is to plan ahead and to have realistic expectations.
Below are five best ways on how to print large documents clearly, ensuring that your printed product looks as good as possible:
1. Use the RAW setting
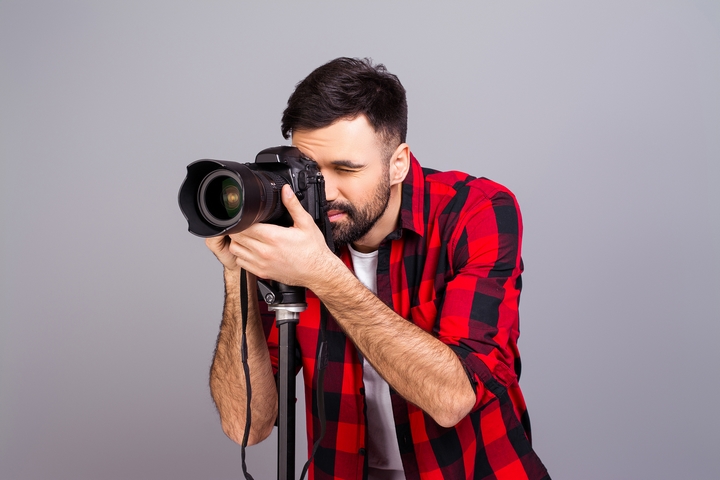
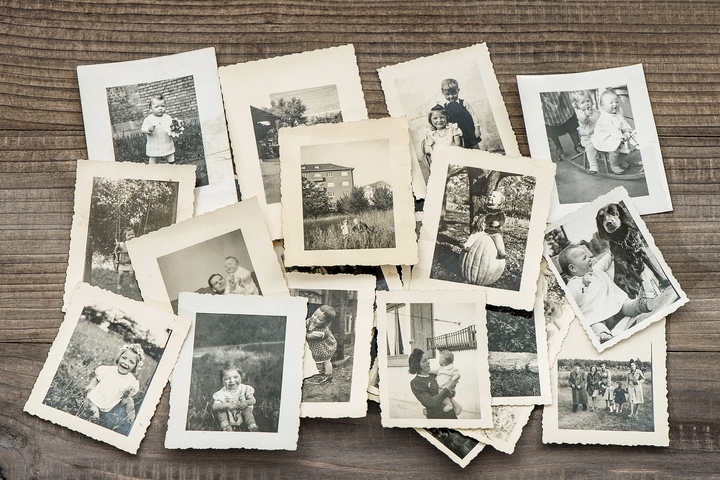
Digital cameras now have a lot of software in them that automatically adjusts elements of the photo capture such as lighting, contrast, and more. The more advanced ones will even begin to artificially add elements to the photo, such as background blurring and selective focus. This is fine for an image that you intend to post on social media, however, it can cause huge problems if you want to print the image at a large size.
When taking the photos that you intend to print, be sure that your camera’s settings are set to RAW. This type of digital photography has had minimal processing from what has been captured through the camera’s lens. Which is an ideal place to start when you intend to print the image at scale.
2. Clean your camera’s sensor
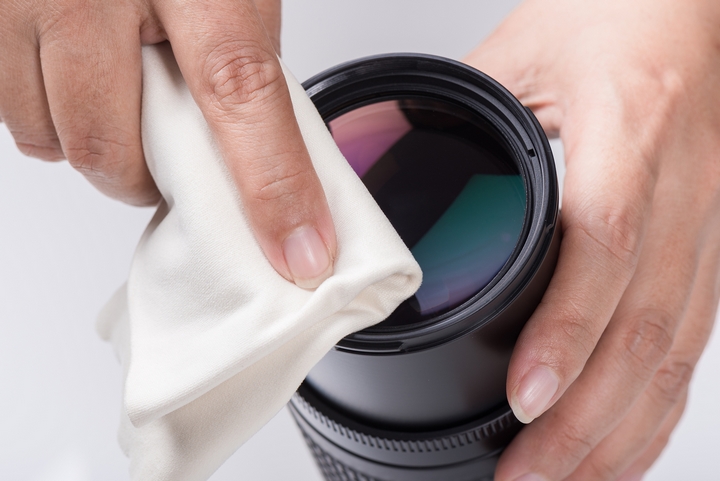
In order to print large documents clearly, you should start by cleaning your camera’s sensor. Before you start the cleaning process be sure to check the manufacture’s instructions on how to clean your camera properly. The sensor of your camera is very delicate and it can be easy to scratch or damage if you are not careful.
Even the smallest piece of dust can cause a spot on your image that might not be immediately noticeable when the image is small, will become glaringly obvious once you enlarge the image and print. When you get to the stage of reviewing your images you will need to inspect them all for camera sensor dust spots. These can often be easily fixed in photoshop or other editing software, but once they are printed, there is no going back.
3. Use the best equipment available
When you are editing your photos, you may find that the colours of the image look great on your screen, but once you print them off they don’t look nearly as vibrant. To prevent results like this it is work investing in a high-quality monitor and ensuring that it has been properly calibrated. Having the colours on your screen match closely to what will be printed can go a long way to giving you the results that you need.
Speaking of equipment, you should also invest in the best printer possible. If you need to print a super large document that exceeds your current printer’s standards, you will probably need to use a flexographic printer instead. In addition, you should also have a selection of sleeve accessories, used to mount and store flexographic printing paper.
4. Use a professional editing software
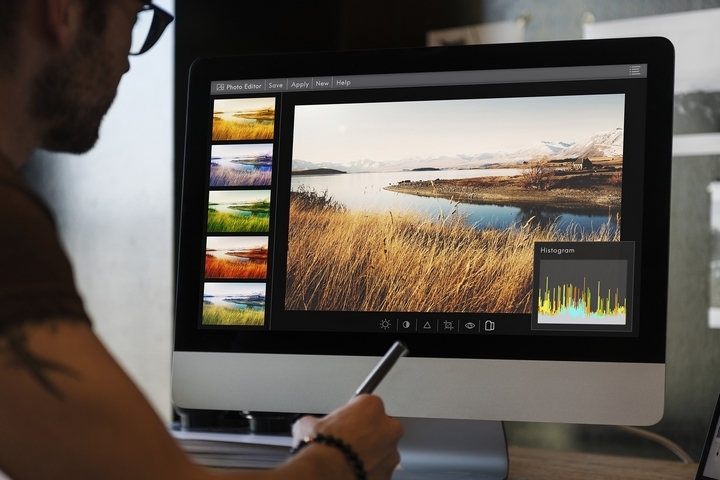
There are a number of professional editing software out there. Each with their own benefits. The key is to know how to use them effectively. You want to ensure that you have the skills to get the most out of the raw photo file when it is handed off to the printers. When in doubt, it is advised that you speak with the company that will be printing the images for you as they will have some specs that you will need to follow.
5. Meet with your printers

You should make sure that you have met with the printing company that will you intend to use and get a quote for the size of image that you want. You might find that you can save a great deal of money by making a few adjustments to how you take, edit, and save your image. It is very important that you are aware of these details early on in the process so that you don’t need to go back to the drawing board.
Understanding what is realistic from the production end of the process will allow you to have practical expectations from your team during the design stage of the process. This can save a great deal of time and frustration during the execution of the project. Another thing that you will have to keep in mind as well as how long it will take for the printers to fulfil the request. Booking your slot in advance can save you a great deal of time.