
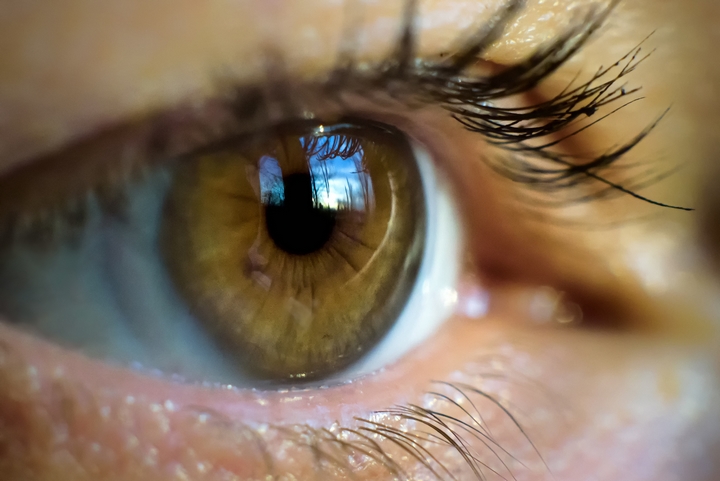
No matter what type of make-up artist you are, whether that be a novice or an expert, you probably know the importance of eyeshadow. The application of eyeshadow requires much practice, and takes even a longer amount of time to master. However, with enough patience, you will be able to see results in a very beautiful lens.
Makeup routines take practice, above all else. No one has started off as a professional, especially when it comes to eyeshadow blending. Once you take a make up artist course, you’ll get plenty of experience blending eyeshadow colours in a professional environment. With enough practice, some truly dramatic and vibrant looks can be created.
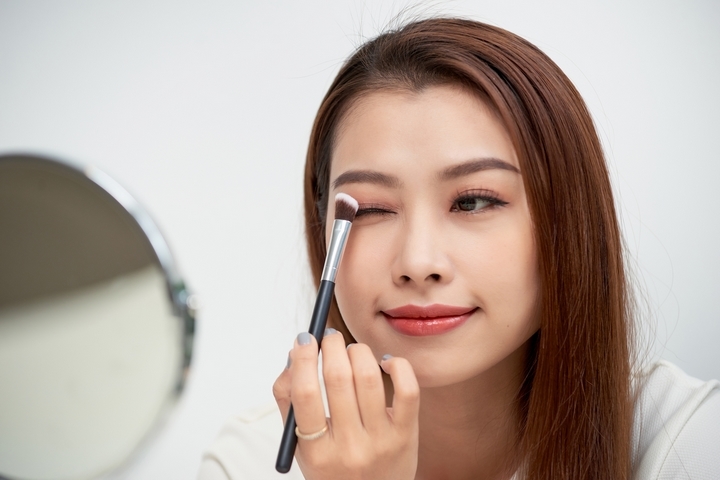
One of the more challenging aspects of eyeshadow application is the art of blending. Since every skin type is different, blending requires the usage of several techniques, in order to reach a desirable result. For the best practices, here is a tutorial on how to blend eyeshadow colours perfectly:
Step #1: Know the Eye Shape
The process of how to blend eyeshadow is distinctively unique, since everyone is different. As such, getting to know the shape of the eye is really important. This is because not all blending techniques are equal; different eyes require different applications!
For the most part, eyelids can come in the format of almond-shaped, which allows for more blending work. Or, hooded eyelids might require a little more work, to create a more cohesive result. If you need help determining which lid you have, or which you will work on, take a look at the plethora of tutorials available online first.
Step #2: Learn to use primer

Although it isn’t relatively necessary for the overall art of blending, primer is a great way to practice when starting out. To begin with, you’ll want to use some eye shadow primer on your eyelids, which keeps everything in place. When conducting the primer part of the process, try to keep it closer to the lash line.
After this is completed, ensure that the primer is faded as you stroke upwards on the lid. This provides you with more space to create blending afterwards. Just be sure to let it dry for about ten seconds, before moving on.
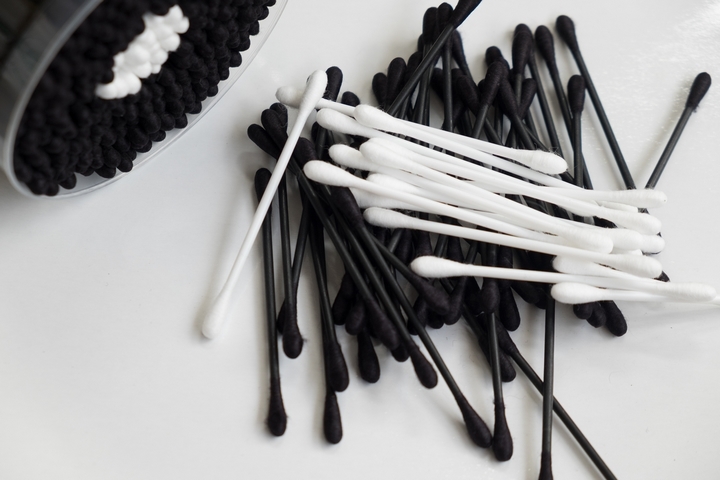
Step #3: Pick the right blending tools

All make-up procedures will require a respective toolkit, in order to create a stunning look. When it comes to blending, make sure you have said toolkit, along with some key pieces of equipment. Since every eyeshadow blending process will be different, having these essential items beforehand is critical.
For example, having more than just a couple of blending brushes will prove to be more helpful in the long run. Since some will be in use, having spare brushes that are clean will be a great asset. Since brushes come in different shapes, sizes, and models, choose one that is most suitable for yourself or for your client!
Step #4: Blend the eyeshadow lightly

The blending process of eyeshadow application must be started out gently. Trying to fire on all cylinders here will result in a ruined job, before you even reach the mid-way point of the procedure. Always ensure you apply a very light shade on the inner half of your lids to begin with.
Starting off lightly is important for many reasons, but mainly boils down to the fact that it is a transition colour. Once you have found an applicable tone and color to follow-up with, you can continue to blend as you see fit. If necessary, experiment with bronzer, in order to create a more holistic look.
Step #5: Proceed with the blend cycle

Once the lightest application of blending has been applied, you may begin to use a darker shade. However, it is important to check to see if the previous colour has been blended in correctly first. Simply applying a shade too quickly will result in the process being ruined.
Once you have gotten a bead on the cyclical nature of each blending shade, make sure you use a different brush motion each time. For example, swirl one shade in a small, circular motion on one application. Then, for the subsequent blending, run the brush in a V shape along the topmost lash lines.
Step #6: Relax after blending
While blending in the eyeshadow, it is always important to physically relax! Going too hard on the blending aspect will wreck the steps you have taken so far. While sweeping with your chosen brush, always do so in a gentle manner, especially as it pertains to darker colours.
Step #7: Tidy up
Of course, every eyeshadow practice won’t be perfect. When mistakes are inevitably made, it is important to conduct a touch-up where necessary. Sometimes, the eyeshadow may be too far out from the lid’s outer corners. In order to rectify this, consider some alternative cleaning techniques.
You can use a brush to gently fill in gaps in the blended result. Or, you may want to try using translucent powder to cover up the top edge of the actual shadow. Whatever your preference is, experiment as you so desire!