Painting your home may sound easy. It’s just putting paint on a wall, right? In actual fact, you may be surprised to know that many DIY painting projects turn into disasters because people bite off more than they can handle. It is very important that you are fully prepared before you start any painting project for your home. You will also need to get the right tools for the job. To help with your painting project, we’ve gathered some helpful tips below. Happy painting!
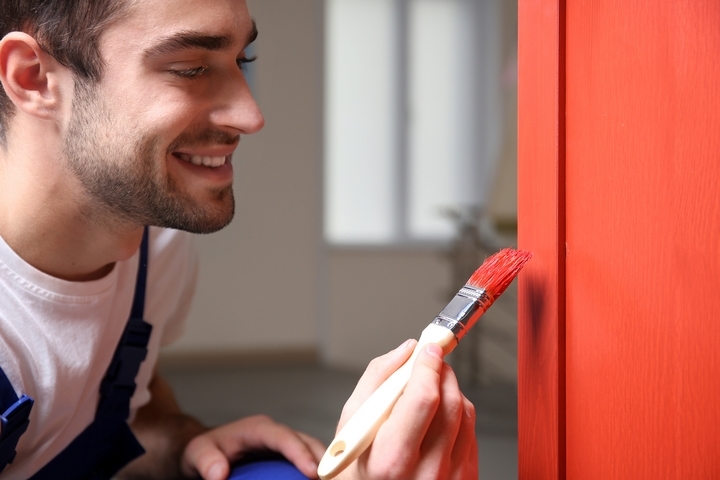
1. Keep the layers smooth

The inexperienced painter may find that when they are done there are obvious lap marks in the paint. A lap mark is when there are ugly lines in the paint. This is caused by uneven painting and too much paint being on the brush or roller. A way to avoid this is to overlap your brush strokes so that you are constantly spreading the paint around evenly. The same technique is important when using a paint roller.
2. Hire the professionals
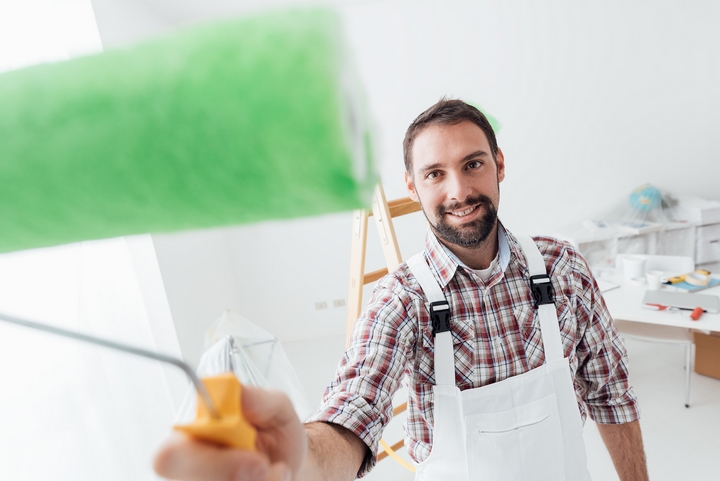
There really is no substitute for hiring a team of professionals to paint your home. They have many years of experience and the skills needed to do a great job. Another benefit is that they have their own equipment. This means that you won’t end up with a lot of painting supplies left over in the garage that you won’t ever use.
When you hire a team of professional painters, you will be able to sit back and relax. They will take care of everything and the next time you see the room it will be the colour that you always wanted.
3. Mix the paint
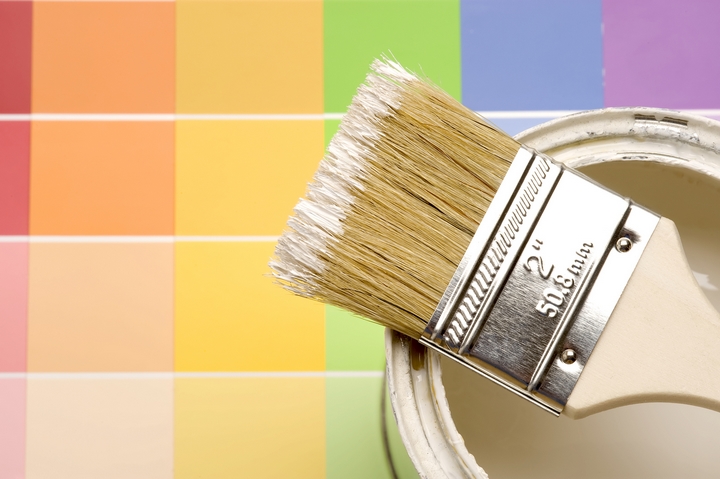
When using multiple paint cans, there can be slight differences in the colour. Even if they are the same colour on the tin, it won’t always be exactly the same. To get around this problem, there is an easy solution. All you need to do is to put the different tins into one large clean bucket and mix. This is a process known in the business as “boxing”. This extra little bit of preparation will ensure that the colour of your walls is consistent.
4. Take the time to do the little touch-ups
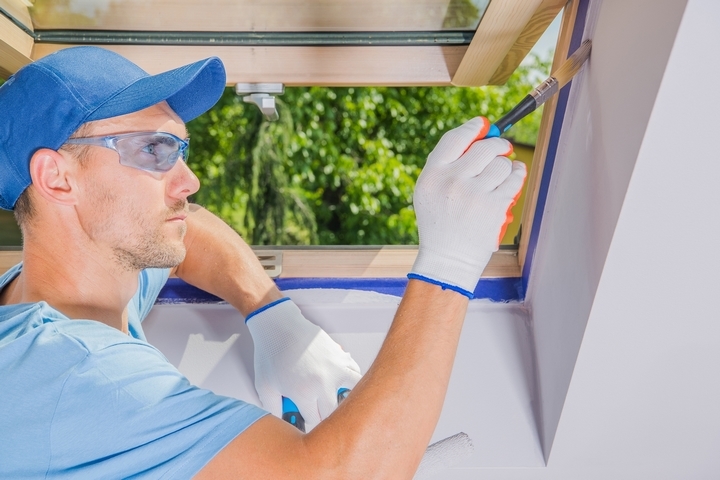
If you don’t put the effort in now, you never will. Even though you have been painting for hours, there is always a little more to do. Many think that when the walls are covered all that you have to do is take the frog tape off the walls and call it a day. This is not ideal. You will find that when you removed the tape that some of the paint on the wall may come away with it. This can leave gaps in the paint.
With a small brush, you can fill these in with just a few moments work. Also, give the whole room a final once-over before you start to clean up your paint supplies.
5. Paint the trim first
This is a top tip as it is easier to tape off the trim than the walls. When painting the trim, you don’t have to be neat. Just concentrate on getting a smooth finish on the wood. Don’t worry if the trim paint gets onto the walls.
6. Prepare the walls for painting
You’ll want to clean the walls before you start painting. After they are perfectly clean and dry you can add a primer coat so that you are able to paint on a completely smooth surface. This will give you a nice and clean finish.